Making of… the Sketching Ampersand Pins

I recently got a series of enamel pins made. These were the first physical product, I created beyond things printed on paper.
In this post, I am going to share the whole story from the first sketches to the final product.
It all started back in 2012 when I was doodling random things in my breaks at work. I have always liked the shape of ampersands, and somehow, one day, I sketched lots of different silly-themed ampersands on a page.
(I still like the cowboy ampersand a lot. I should probably work on that one a bit more at some point... Yeehaw!)
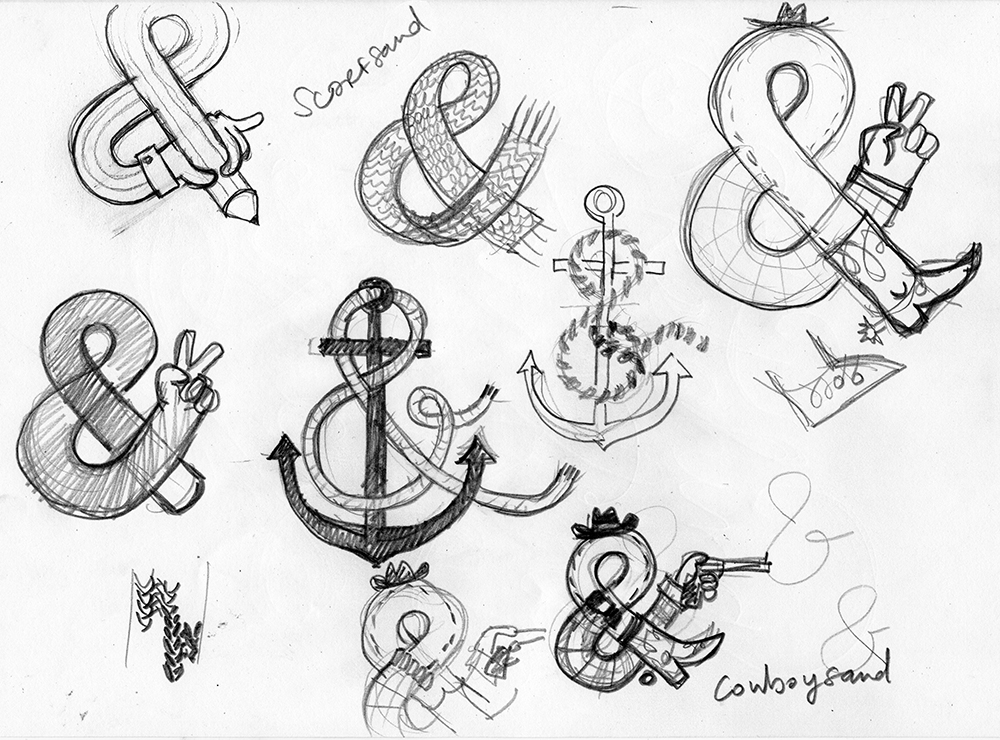

I refined the sketches for the 'sketching ampersand' and decided on a negative form. I even had a small series of custom sketchbooks made that I gave away as gifts to family, friends and some of my workshop participants.


Sometime last year I found the ampersands again when cleaning up files on my computer. I still liked them a lot and thought, they might make nice pins.
The first mock-ups for possible pins were still a bit heavy-handed and I didn't really dig the colours either.

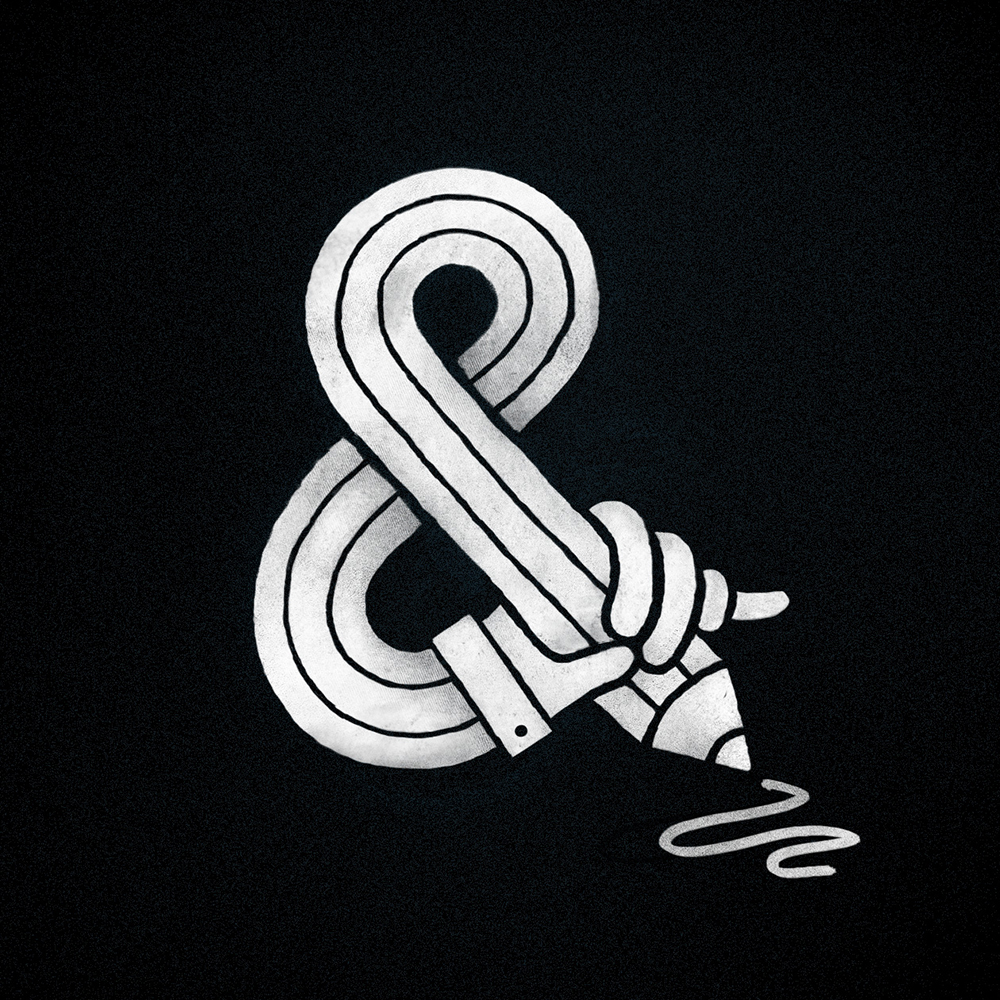
I decided to simplify the design – removing the cuff – and to create two variations. One bolder version that would use the solid metal of the pin as its main colour and one more delicate version with thinner lines that could be filled with colour.


I mocked up some colour variations. Playing around with the different metal colours and endless possible colour combinations made it very hard to make a decision on the right combination.
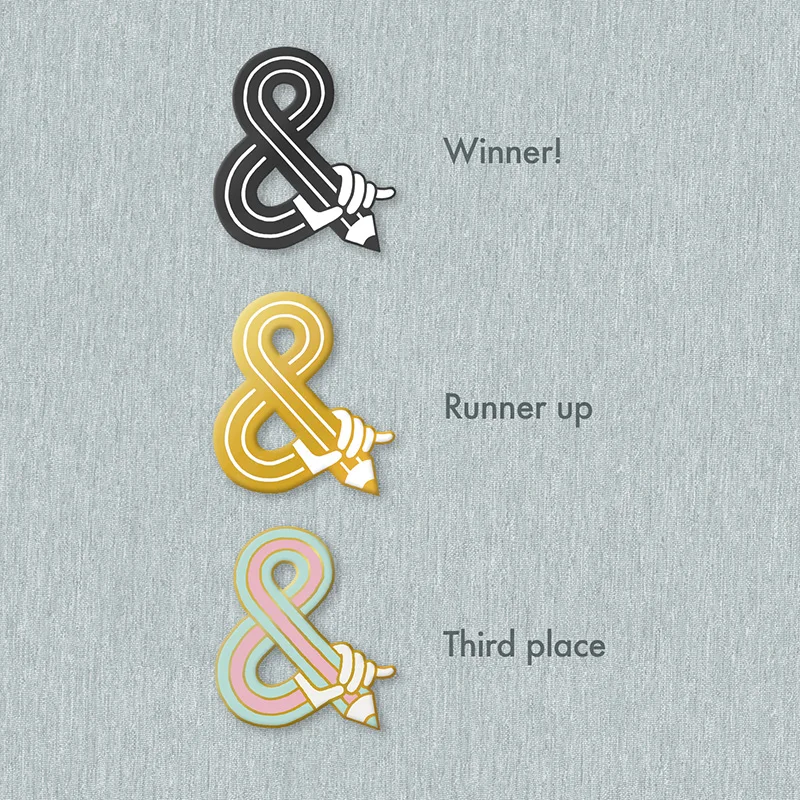
I decided to run a little poll on my instagram and twitter to see which variations people preferred. A couple of days and over 100 votes later, 3 winners emerged.
The final decision before going into production was choosing the right size. I resized the layout to different sizes, printed and cut them out so I could pin these quick prototypes on my clothes to see which one looked right.
Before, I was pretty sure that I wanted the biggest size, but after the test, I settled for slightly smaller, a bit more elegant version.

Next up was designing the cards that the pins would sit on.
To keep the cost and complexity down, I decided on creating just one card that would work for all three pins.
I wanted it to look like the ampersand was in the middle of drawing something. The white paper nicely frames its shape and gives a bit of dimension to the presentation.
The printed cards actually arrived much earlier than the pins. The pins take about 6 weeks to make, the cards only one or two.


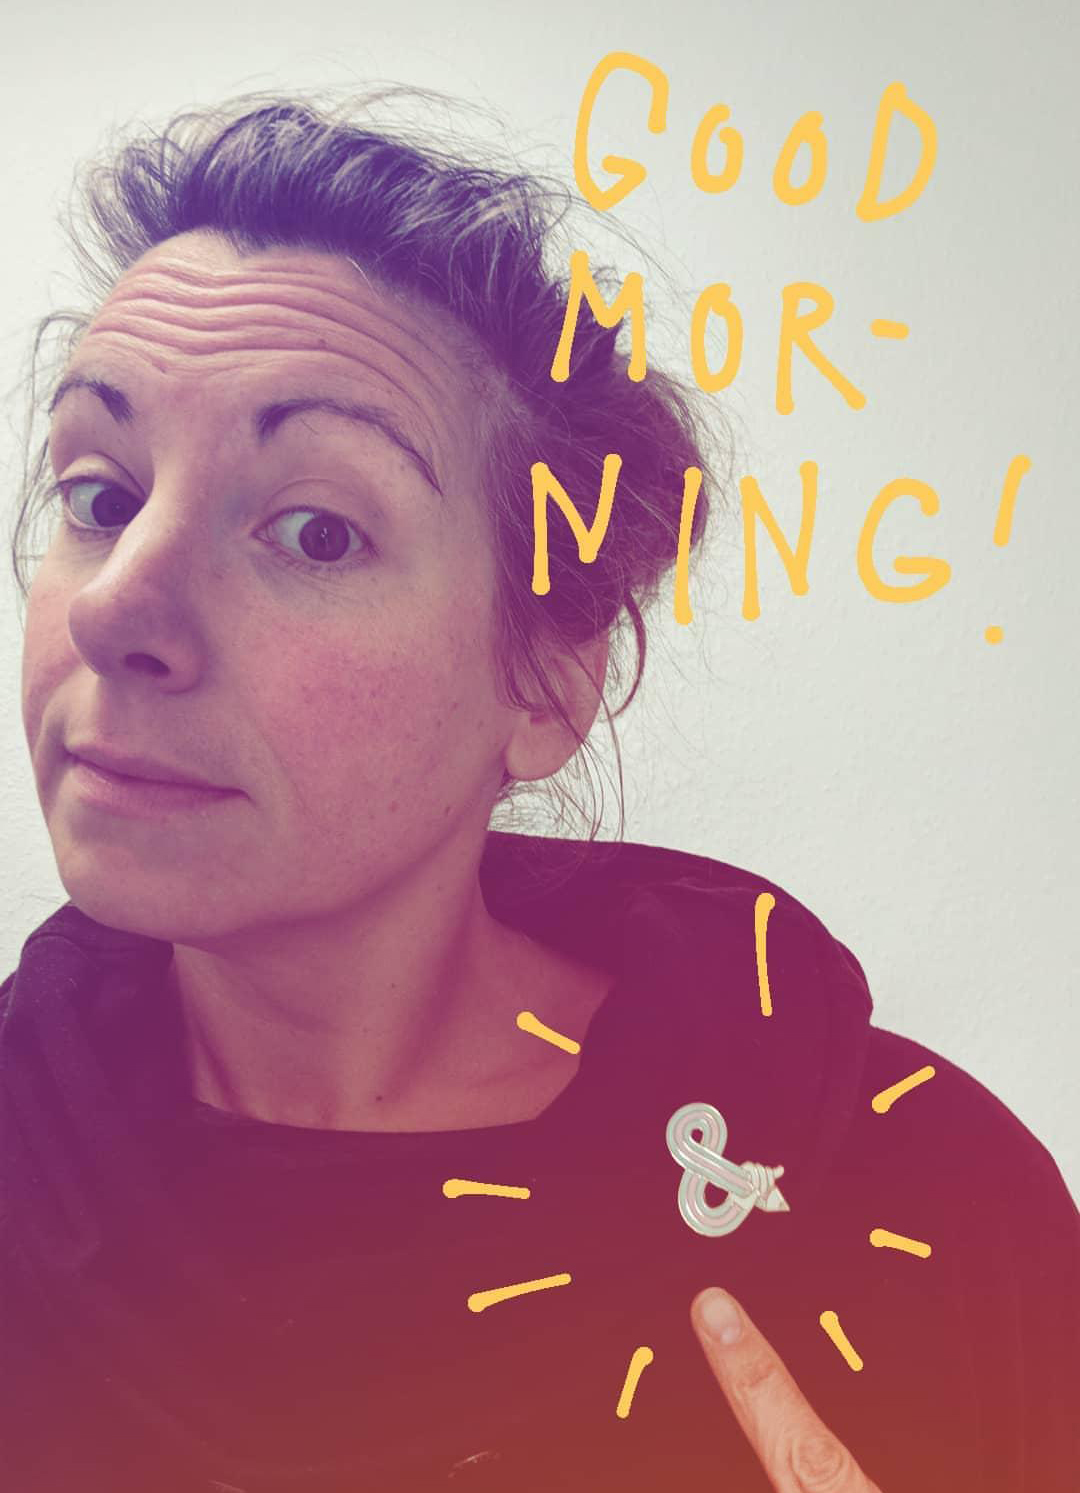
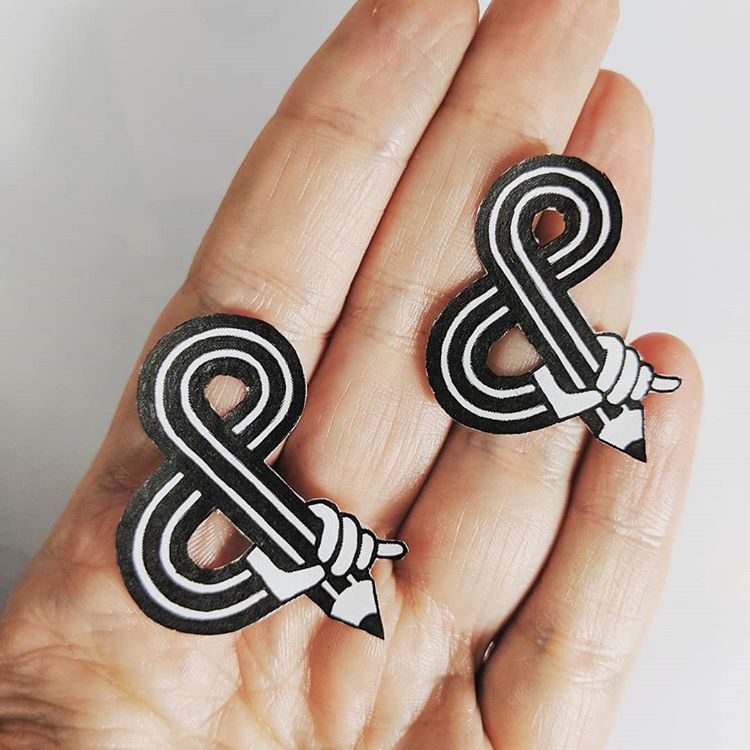
And fiiiiiiinallyyyyyyy, the pins arrived :)
I was really nervous when opening the package. Committing to getting a real physical product made can be exciting but also nerve-wracking. What if the pins don't turn out like you wanted them? What if you made some mistake?
But luckily, they look lovely (at least, I think so).
:)
If you love sketching, drawing, doodling, writing or any kind of mark making, this pin might be the right addition to your attire. They also look great on your favourite pencil case.
You can order one (or many!) here:
Sketching Ampersand Pin